环境准备:
1.Linux 系统服务器: CentOS 72.yum 3.4.33.java 1.84.tomcatyum环境
运行rpm -qa | grep yum
[root@localhost Downloads]# rpm -qa | grep yumyum-metadata-parser-1.1.4-10.el7.x86_64yum-langpacks-0.4.2-7.el7.noarchPackageKit-yum-1.1.5-2.el7.centos.x86_64yum-3.4.3-158.el7.centos.noarchyum-utils-1.1.31-46.el7_5.noarchyum-plugin-fastestmirror-1.1.31-46.el7_5.noarch
java环境
先查看是否有java环境: rpm -qa | grep java
如果没有java环境的话,接着就去查找java-1.8.0的可以使用的安装包:yum list | grep java-1.8.0-openjdk
yum list | grep java-1.8.0-openjdkjava-1.8.0-openjdk.x86_64 1:1.8.0.191.b12-0.el7_5 @updates java-1.8.0-openjdk-headless.x86_64 1:1.8.0.191.b12-0.el7_5 @updates java-1.8.0-openjdk.i686 1:1.8.0.191.b12-1.el7_6 updates java-1.8.0-openjdk.x86_64 1:1.8.0.191.b12-1.el7_6 updates java-1.8.0-openjdk-accessibility.i686 1:1.8.0.191.b12-1.el7_6 updates java-1.8.0-openjdk-accessibility.x86_64 1:1.8.0.191.b12-1.el7_6 updates java-1.8.0-openjdk-accessibility-debug.i686 1:1.8.0.191.b12-1.el7_6 updates java-1.8.0-openjdk-accessibility-debug.x86_64java-1.8.0-openjdk-debug.i686 1:1.8.0.191.b12-1.el7_6 updates java-1.8.0-openjdk-debug.x86_64 1:1.8.0.191.b12-1.el7_6 updates java-1.8.0-openjdk-demo.i686 1:1.8.0.191.b12-1.el7_6 updates java-1.8.0-openjdk-demo.x86_64 1:1.8.0.191.b12-1.el7_6 updates java-1.8.0-openjdk-demo-debug.i686 1:1.8.0.191.b12-1.el7_6 updates java-1.8.0-openjdk-demo-debug.x86_64 1:1.8.0.191.b12-1.el7_6 updates java-1.8.0-openjdk-devel.i686 1:1.8.0.191.b12-1.el7_6 updates java-1.8.0-openjdk-devel.x86_64 1:1.8.0.191.b12-1.el7_6 updates java-1.8.0-openjdk-devel-debug.i686 1:1.8.0.191.b12-1.el7_6 updates java-1.8.0-openjdk-devel-debug.x86_64 1:1.8.0.191.b12-1.el7_6 updates java-1.8.0-openjdk-headless.i686 1:1.8.0.191.b12-1.el7_6 updates java-1.8.0-openjdk-headless.x86_64 1:1.8.0.191.b12-1.el7_6 updates java-1.8.0-openjdk-headless-debug.i686 1:1.8.0.191.b12-1.el7_6 updates java-1.8.0-openjdk-headless-debug.x86_64 1:1.8.0.191.b12-1.el7_6 updates java-1.8.0-openjdk-javadoc.noarch 1:1.8.0.191.b12-1.el7_6 updates java-1.8.0-openjdk-javadoc-debug.noarch 1:1.8.0.191.b12-1.el7_6 updates java-1.8.0-openjdk-javadoc-zip.noarch 1:1.8.0.191.b12-1.el7_6 updates java-1.8.0-openjdk-javadoc-zip-debug.noarch 1:1.8.0.191.b12-1.el7_6 updates java-1.8.0-openjdk-src.i686 1:1.8.0.191.b12-1.el7_6 updates java-1.8.0-openjdk-src.x86_64 1:1.8.0.191.b12-1.el7_6 updates java-1.8.0-openjdk-src-debug.i686 1:1.8.0.191.b12-1.el7_6 updates java-1.8.0-openjdk-src-debug.x86_64 1:1.8.0.191.b12-1.el7_6 updates
安装java-1.8.0-openjdk所有的文件
[root@localhost Downloads]# yum -y install java-1.8.0-openjdk*
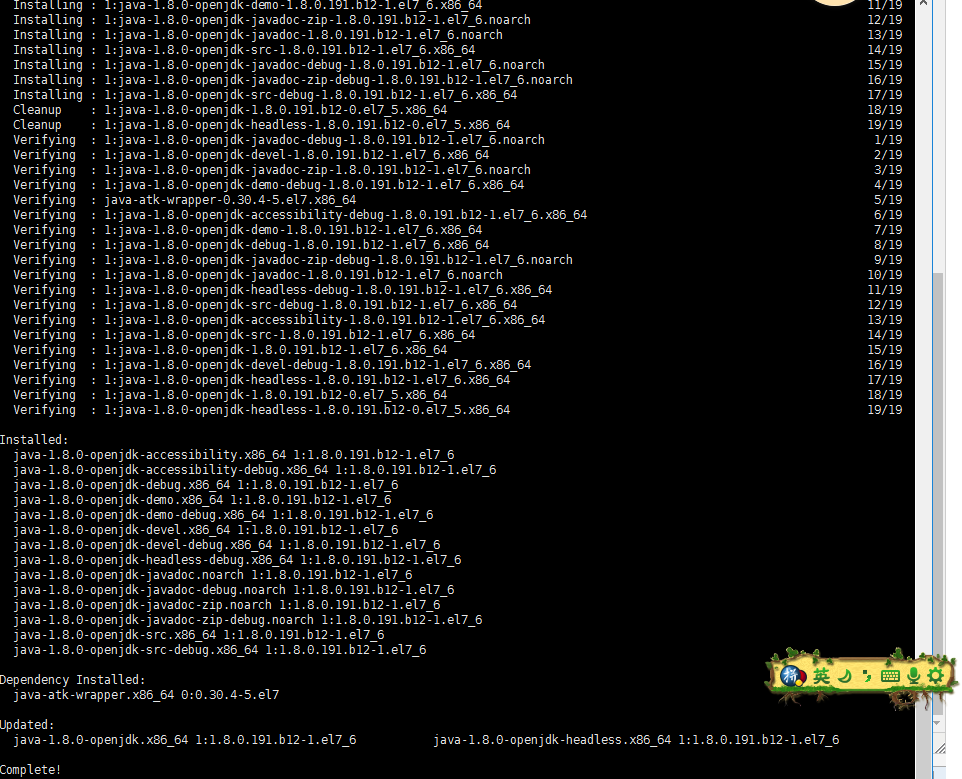
输入命令查看java版本
[root@localhost Downloads]# java -versionopenjdk version "1.8.0_191"OpenJDK Runtime Environment (build 1.8.0_191-b12)OpenJDK 64-Bit Server VM (build 25.191-b12, mixed mode)安装
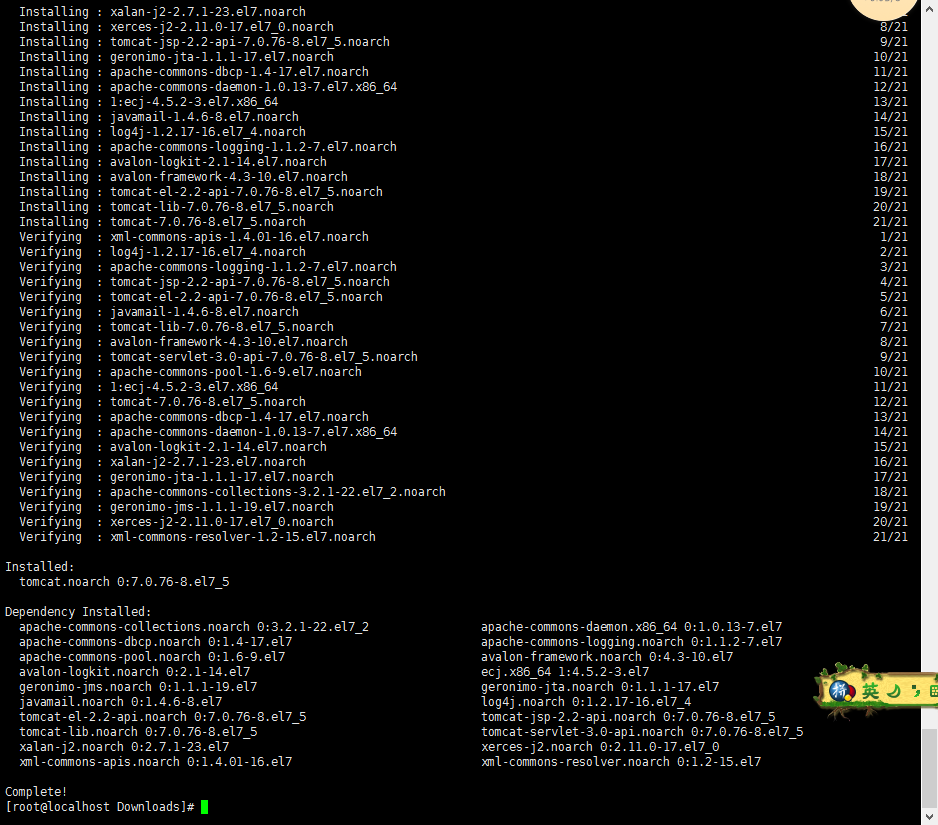
通过yum安装tomcat
yum install tomcat
进入tomcat安装目录
cd /usr/share/tomcat
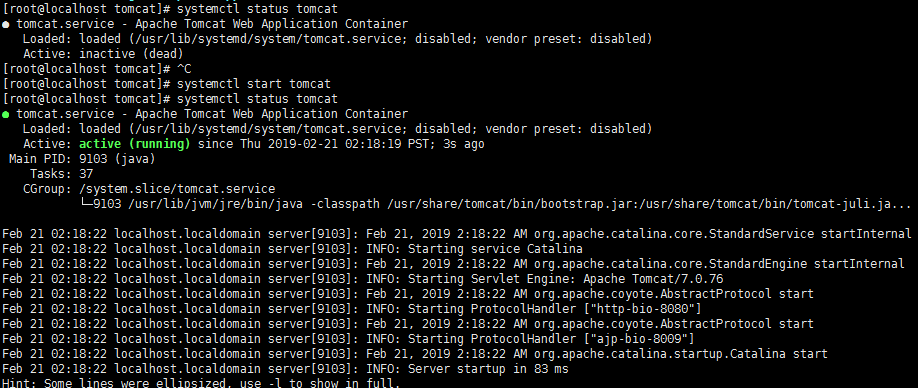
查看tomcat状态
[root@localhost tomcat]# systemctl status tomcat● tomcat.service - Apache Tomcat Web Application Container Loaded: loaded (/usr/lib/systemd/system/tomcat.service; disabled; vendor preset: disabled)
启动tomcat
systemctl start tomcat
安装tomcat-webapps 和 tomcat-admin-webapps 两个插件包
yum install tomcat-webapps tomcat-admin-webapps
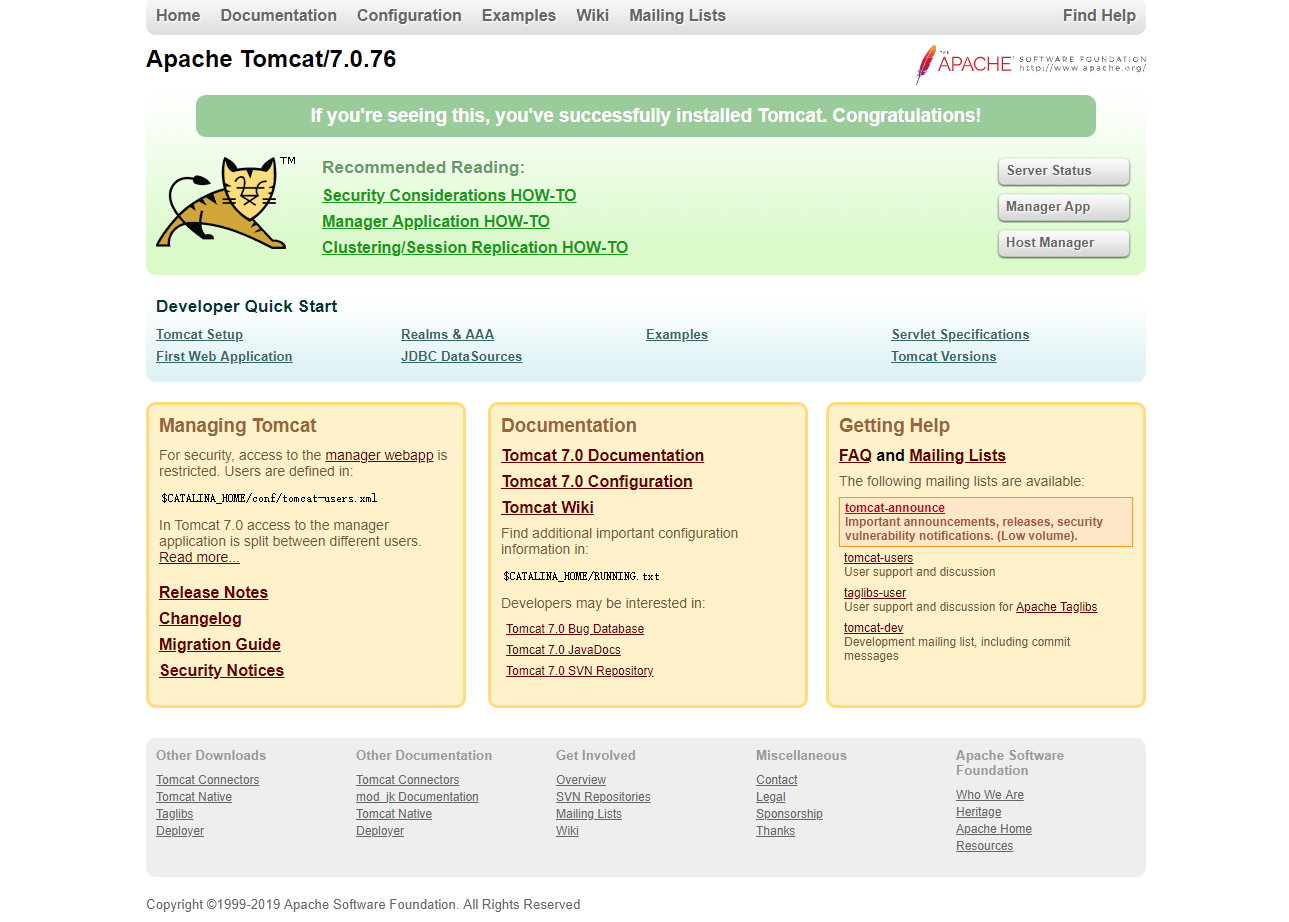
访问http://ip:8080即可访问Tomcat
复制出红色框框的这两行,可以直接设置username=”root” password=”root”

接着点开xshell,进入 tomcat 安装目录(cd /usr/share/tomcat),进入 conf 目录,打开 tomcat-users.xml 文件,在标签下,添加如下配置:
编辑文件,可以用vi或vim点开文件直接编辑
cd /usr/share/tomcatcd confvim tomcat-users.xml
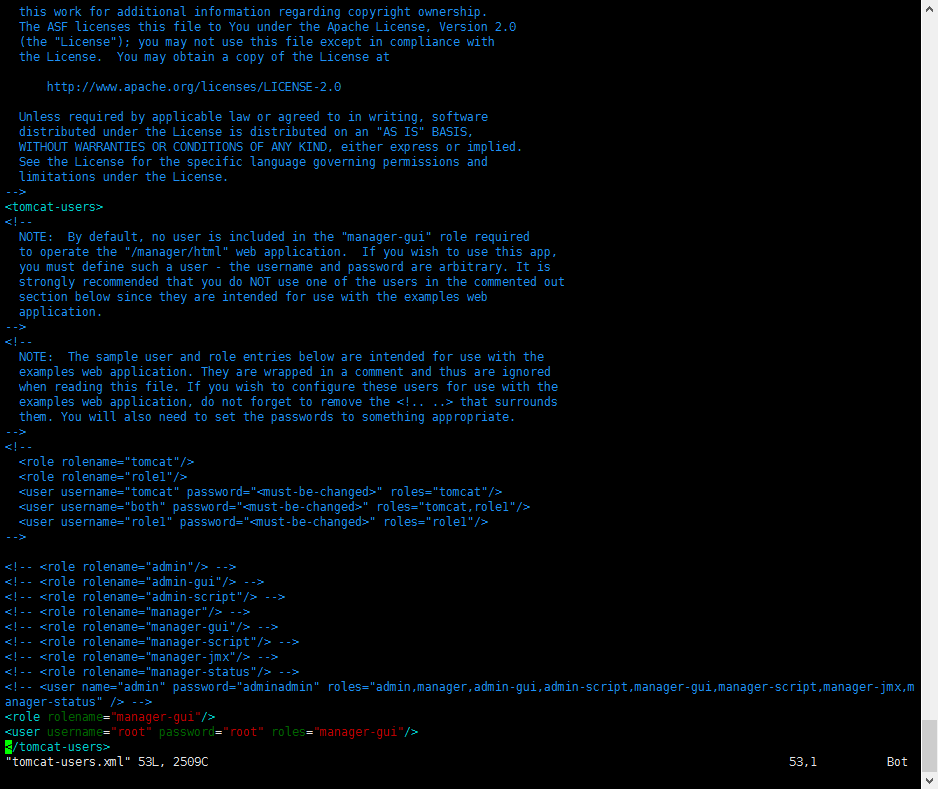
vim点开后,按键盘是 i 键 ,进入编辑状态,鼠标移动到最后一行 上方,直接粘贴进去就行了
编辑完成后,按ESC键,输入 :wq 回车保存退出
重启Tomcat
systemctl restart tomcat
再访问Tomcat界面,点击“Manager App”按钮,输入账号root密码root,进入Tomcat界面
